
Adding an email newsletter signup form is a fantastic way to stay in touch with your visitors. You can send weekly or monthly emails with your new posts, events or products. In this tutorial, we’ll show how to add a newsletter signup using MailChimp, Flodesk, ConvertKit and Mailerlite. So let’s get started!
Table of Contents
Important
- After adding your signup form, try to subscribe to make sure everything works. If you’re still not able to subscribe after following all the steps, copy the entire HTML/script from the platform you’re using and see if that solves the issue.
- Our Signup Form widget includes only the email and first/last name fields. Adding any extra functions like checkboxes might prevent the form from working. For this reason, you can use the HTML of the form you want to embed from your account instead.
MailChimp
Create the form
- Login to your MailChimp account > Audience > Signup forms > Embedded forms.
- Choose Form Fields > select the fields you want to display.
- Click Continue on the top right corner of the page.
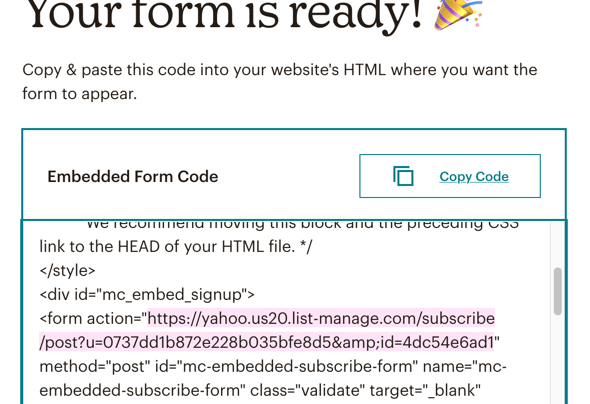
- From the Embedded Form Code box, copy the line after
<form action="as highlighted below:
Add the form
- Login to your WordPress dashboard and go to Appearance > Widgets.
- Click “+” on the area where you want to show the form > search for the Signup Form block.
- When the settings appear, select the Mailchimp platform and add the link you’ve copied in the ‘Form Link‘ field (note: if you don’t see the settings, wait for the widget to load and then click on the preview).
- Press the Update button on the upper right corner of the page to save the changes.
Flodesk
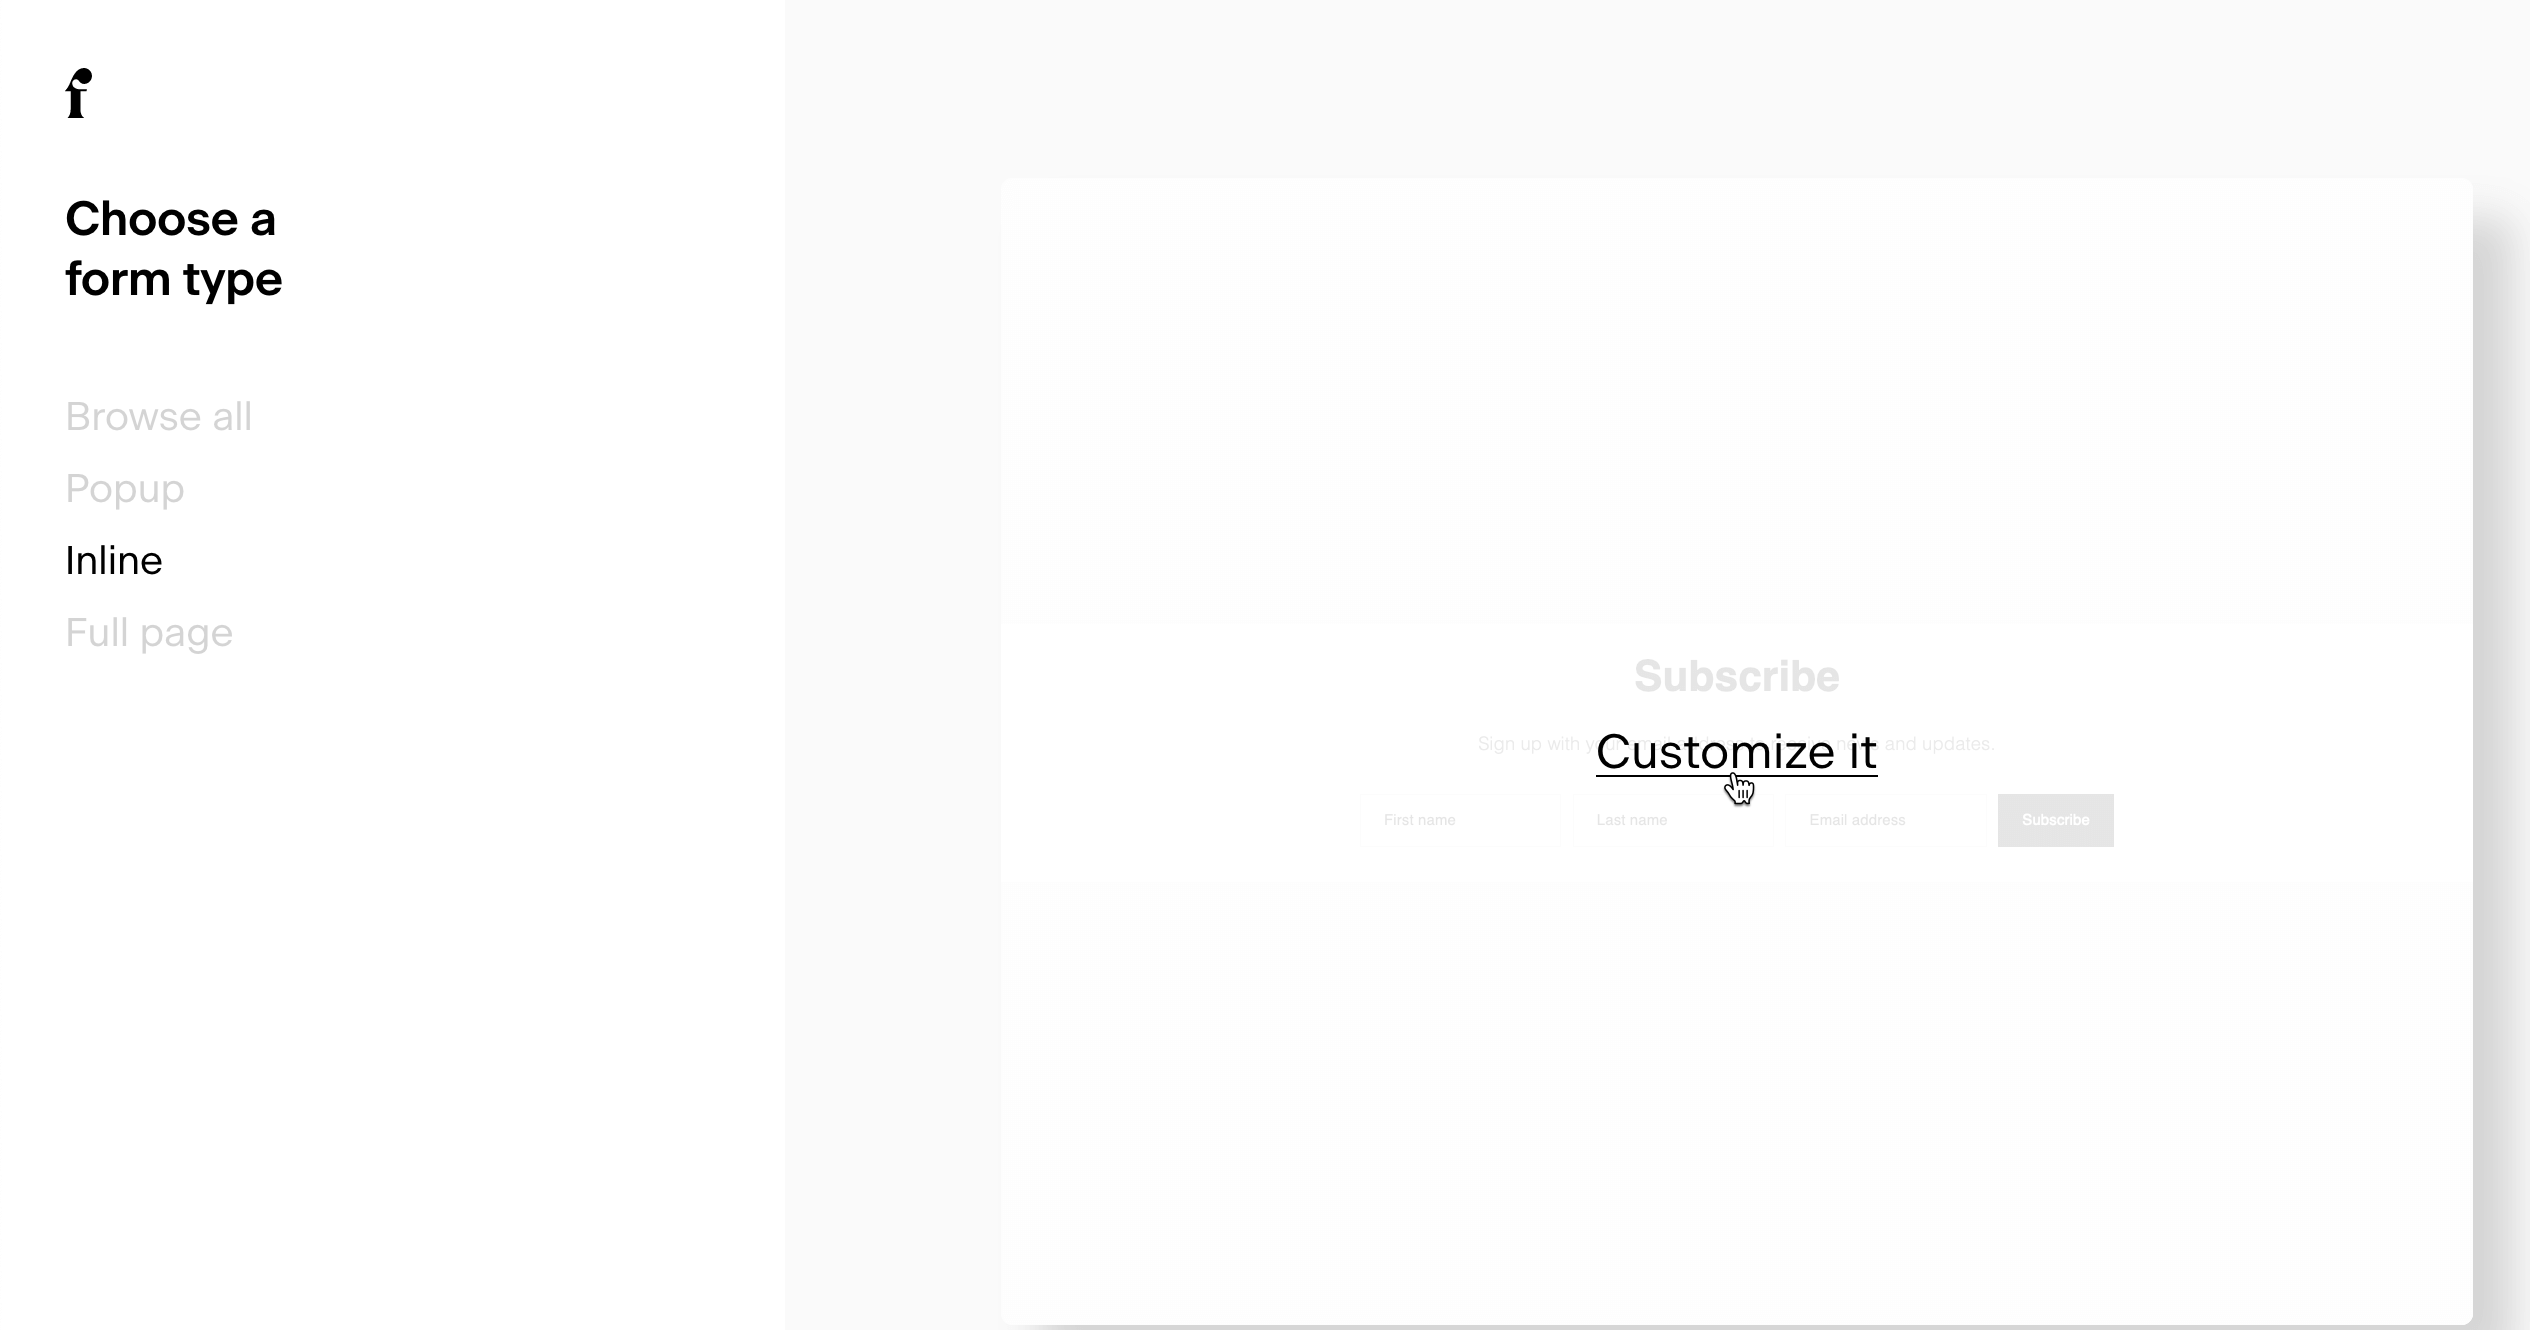
- Login to your Flodesk account > click on Forms > + New form.
- Select Inline > move the cursor on the right & click on Customize it.
- Create a new segment (or choose from the existing ones) > click the Save button.
- Click anywhere on your form to start editing (you may want to remove the title & text below it, as this is already added):
Note: we would recommend you to edit only the colors because the form will inherit the theme’s fonts.
- Make sure to set the Canvas and Background colors to transparent (0:42 in the video above).
- After you’re done, click on Next > choose the settings > hit the ‘Continue‘ button.
- Copy the “Header code” and add it to the
<head></head>of your site (see this tutorial for more help). - Also, copy the “Inline code” and go to your WordPress dashboard > Appearances > Widgets and click “+” on the area where you want to show the form > search for the Custom HTML block.
- Add the inline code that you copied inside the Custom HTML box.
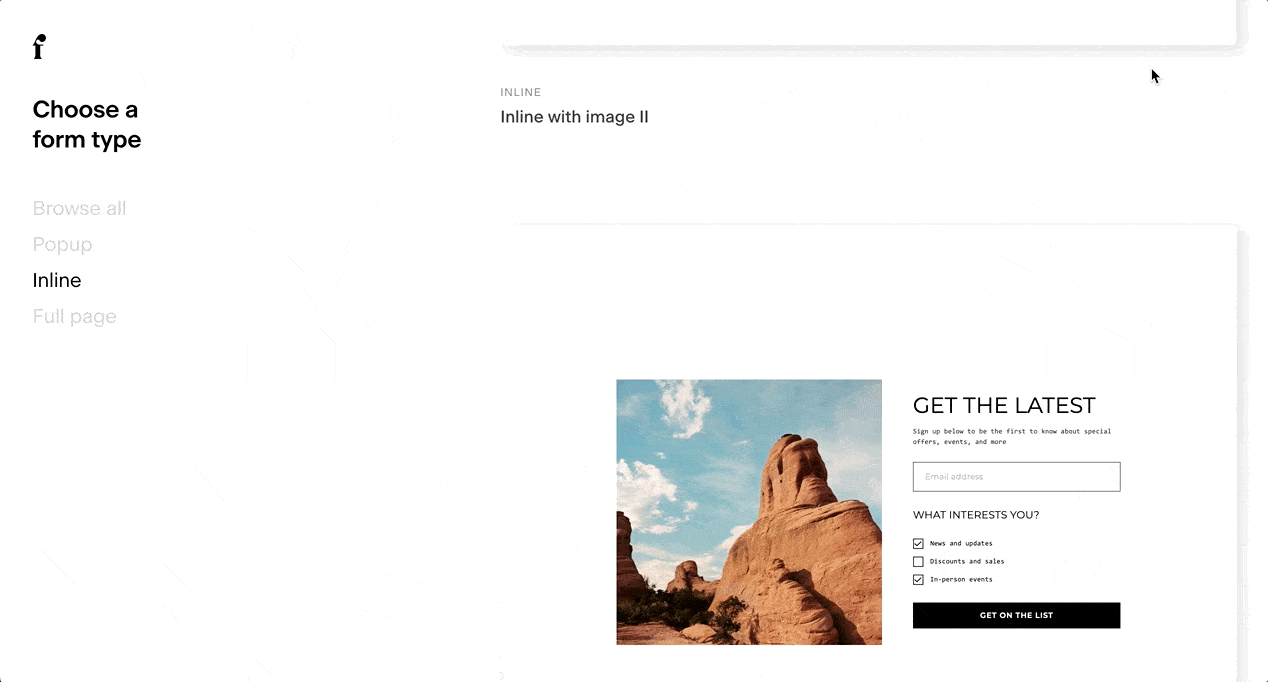
Note: If you want to use a stacked form (with fields on top of each other, instead of appearing side by side), choose the Inline without image form template:
ConvertKit
Create the form
- Login to your ConvertKit account > click Grow in the top menu > select Landing Pages & Forms.
- Click on + Create new button > Form > Inline > select ‘Clare’ template.
- To add a ‘First name’ field in addition to the ‘Email’ field, click on the “+” sign below the form.
- Select “First name” from the Custom field drop-down on the right.
- Click on the Publish button > choose HTML > copy the line after
<form action="as highlighted below:

Add the form
- Login to your WordPress dashboard > Appearance > Widgets.
- Click “+” on the area where you want to show the form > search for the Signup Form block.
- When the settings appear, select the ConvertKit platform and add the link you’ve copied in the ‘Form Link‘ field.
- To add the First Name field, also check the ‘Show First Name field?‘ option.
- Press the Update button on the upper right corner of the page to save the changes.
Mailerlite
- Go to your Mailerlite account > Forms > Embedded forms > click on the Create button.
- Add a form name > click on Save and continue.
- Create a group for your subscribers > Continue.
- To add the First/Last Name fields in addition to the Email field, click on the Email field > then click on the Add field button.
- Click on Done editing.
- Scroll down to Embed form into your website > select HTML code.
- Scroll down to
<form class="ml-block-form"…>and copy the form action link.
Add the form
- Go to your WordPress dashboard > Appearance > Widgets.
- Click “+” on the area where you want to show the form > search for the Signup Form block.
- When the settings appear, select the MailerLite platform and add the link you’ve copied in the ‘Form Link‘ field.
- Also, add the form ID (you’ll find it in the HTML code section in Mailerlite starting width “mlb2-” (copy only the numbers)).
- Press the Update button on the upper right corner of the page to save the changes.
Choose Form Style
In the Signup Form widget you can decide if the input fields will be aligned one below another by checking the ‘Show Stacked Form‘ option which is ideal for the sidebar. You can also leave this option unchecked if you want the fields to appear side by side (in the footer, for example).