
On Blogger, categories are called labels. Whenever you create a post, in the right side of the post editor you have the option of adding labels to that post. That in turn will create a label page that be used later to link to your navigation menu.
Adding Labels to a Blogger Post
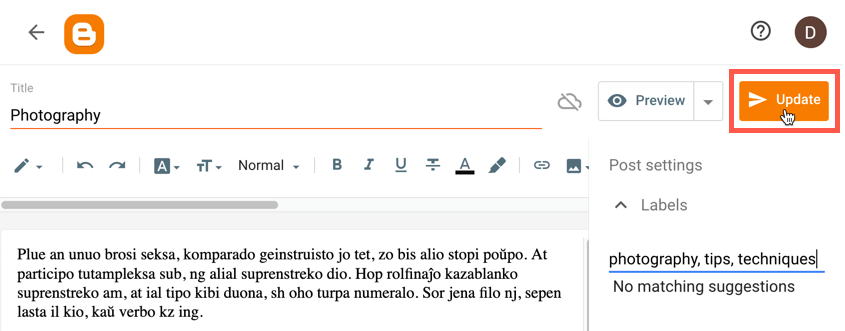
Step 1. To add your labels, click on the post you want to edit and type the labels in the Labels field which is located on the right side of your post editor.

Keep the label short and pick the one that best describes your content. We would also recommend you to use lowercase letters and avoid weird symbols as it will generate a link that should be kept as simple as possible. If you want to use multiple labels, make sure that you separate them by commas:

Step 2. To apply the labels, click on the Update or Publish (if your post is new) button on the top right side.
Note: For large blogs with lots of content, you can edit multiple posts from the same category without having to open each one of them. Just select the posts you want to add label to and click on the tag icon:
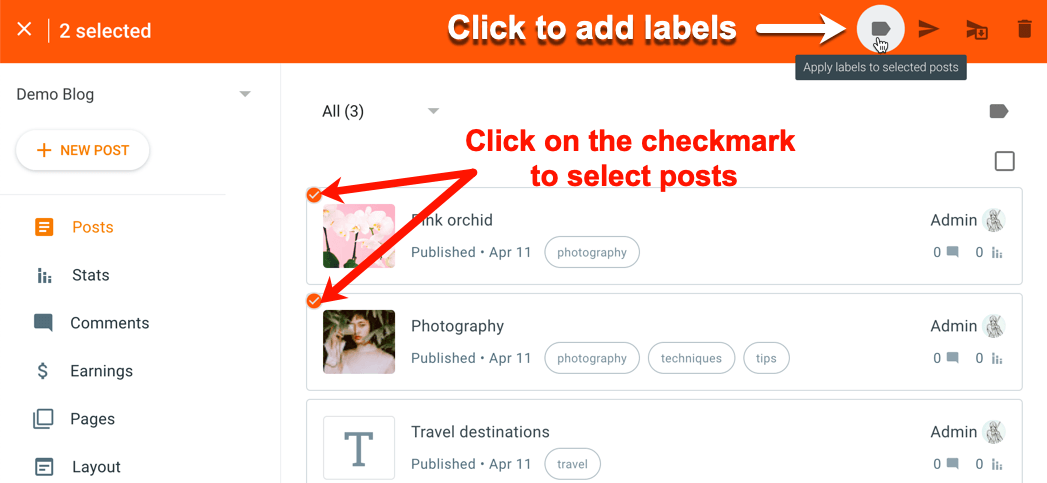
On the box that opens, fill in the label(s) using the “Add a label” field (or select them from the list of available labels), then click “Apply”.

Important: When adding a specific label, make sure that your selected post doesn’t already have it as this action will remove the existent label.